
In 2026, Natlan still feels like a songbook bound in volcanic stone, and the Cavern of the Legendary Mural is one of its most vivid pages. I recently returned to the cavern beneath the Tenebrous Papilla to help a friend earn the Every Picture Tells a Story achievement, and the whole experience reminded me why I love Genshin Impact’s environmental storytelling. The Masters of the Night-Wind tribe does not simply write history; they paint it, layer by layer, until the walls remember what words forget. If you are chasing the same achievement, here is the route I took, the puzzles I solved, and the small details that kept me from stumbling in the dark.
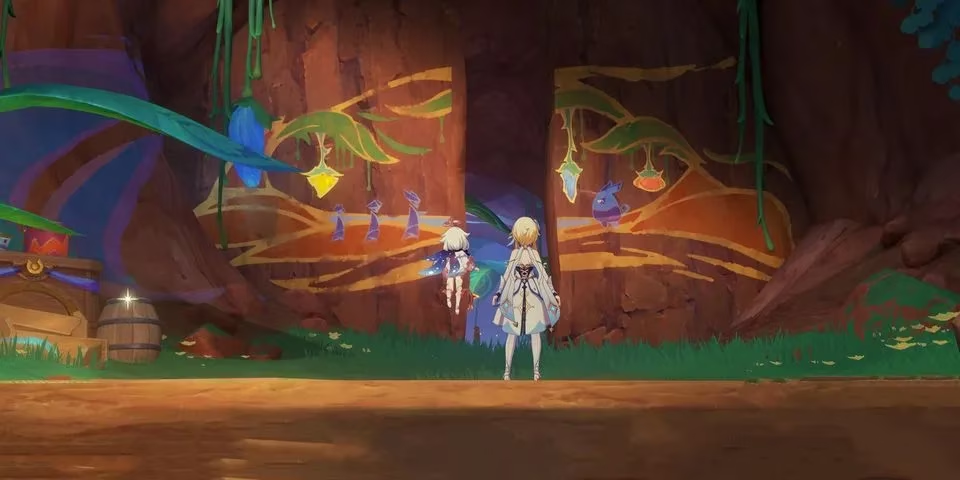
Why the Cavern of the Legendary Mural Matters
To me, this place is a sealed music box whose lid had rusted shut for centuries. The Hued Monetoo is the tiny key that turns faded pigments back into living memory. Without it, the cavern is just stone and shadow. With it, every wall becomes a sentence, and every color becomes a voice.
The Masters of the Night-Wind tribe uses paintings to immortalize their history. That is why the Every Picture Tells a Story achievement feels less like a checkbox and more like a ritual. You are not merely solving puzzles. You are restoring a story that was waiting for someone patient enough to listen.
My Three-Puzzle Route at a Glance
| Puzzle | Location | What I Did | Key Mechanic |
|---|---|---|---|
| 1. Fruit Mural | First chamber | Observed nearby fruits, then recolored the faded wall | Hued Monetoo color restoration |
| 2. Orange Monetoo | Upper level | Scanned a painting, placed the image, fought enemies, colored rocks | Painting scan + Nightspirit Graffiti |
| 3. Stone Tablet | Final area | Activated wind currents and navigated four paintings | Wind-current mini-game |
Step 1: Fast Travel and Meet the Hued Monetoo
I started by fast traveling to the farthest Teleport Waypoint beneath the Tenebrous Papilla. From there, I ventured into the depths of the cavern. The air was thick, the shadows were restless, and the path twisted like a thought I had not finished forming. Then I met the Hued Monetoo, my trusty companion for all things colorful.
The first puzzle is a wall adorned with fruits. It is a feast for the eyes, but the colors are faded. My task was simple in theory and tricky in practice: transform those dull hues back to life. I watched the fruits hanging nearby for guidance. Those fruits are the answer key, and the Hued Monetoo is the pen. Once I colored the mural correctly, a hidden passage opened, allowing me to delve deeper.
🍇 Tip: If you are colorblind or playing on a dim screen, use the nearby fruit as your reference instead of guessing. The puzzle is forgiving when you pay attention.
Step 2: Climb, Scan, Fight, and Color
After the first puzzle, I climbed or used the Iktomisaurus skill to ascend to the next challenge. A cutscene brought the second puzzle to life. Here, I helped the orange Monetoo by scanning the painting. The Hued Monetoo flitted around like a stray comma that had learned to glow, and I followed its light.
My sequence was:
-
Scan the painting.
-
Place the scanned image on the ground to summon an enemy wave.
-
Defeat the foes.
-
Color the rocks based on the scanned image.
-
Use Nightspirit Graffiti for accurate placement.
The enemy wave was not difficult, but it punished me when I rushed. After the foes vanished, I focused on the rocks. The orange Monetoo then breathed color into them. Success opened another hole, and I leaped into it without hesitation.
🎨 Tip: The Nightspirit Graffiti is not decoration. It is a placement guide. Use it before you commit to a color.
Step 3: The Stone Tablet and the Wind Currents
In the final area, I found a stone tablet. Interacting with it kicked off a mini-game that played with wind currents. This part felt like being a page in a pop-up book, folded and unfolded by an invisible reader. My goal was to enable wind currents to navigate through four paintings.
I enabled the currents, glided through the four paintings, and completed the challenge. BOOM—I was rewarded with a Luxurious Chest and the illustrious Every Picture Tells a Story achievement.
🌬️ Tip: Wait for the wind current to stabilize before you move. The paintings are less like obstacles and more like gates.
Rewards and Why It Still Matters in 2026
| Reward | What It Means |
|---|---|
| Luxurious Chest | Primogems, Mora, and upgrade materials |
| Every Picture Tells a Story | Achievement progress and lore completion |
| Deeper Natlan understanding | Context for the Masters of the Night-Wind |
Even in 2026, with more Natlan stories behind us, this achievement remains a lovely detour. It contributes to overall progression and enhances your understanding of Genshin’s lore. The cavern is not just a puzzle box. It is a gallery, a history lesson, and a test of observation.
Final Thoughts
Earning Every Picture Tells a Story is not just about bragging rights. It is about breathing life into the stories of Teyvat. When I finished, I stood in the quiet after the wind currents faded and felt like I had helped an old painting remember its own name. If you are ready to tackle the Cavern of the Legendary Mural, go in curious, patient, and willing to look at the small details. It is a colorful journey that tests your problem-solving skills and immerses you in the lore-rich world of Natlan.
So, are you ready to solve the puzzles and claim the achievement? I hope this guide helps you enjoy the journey as much as I did. 🏆