
I've been grinding my way through Port Belovodye for the better part of a week now, and I'll be honest — the Borrowing A Gold Coin From A Portrait quest caught me completely off guard. It starts like a run-of-the-mill detective errand and snowballs into a full-blown criminal takedown. If you're stuck on the hidden "devices" or you're scratching your head over where that thief actually runs off to, this is the write-up I wish I'd had on day one.
Where To Trigger The Quest
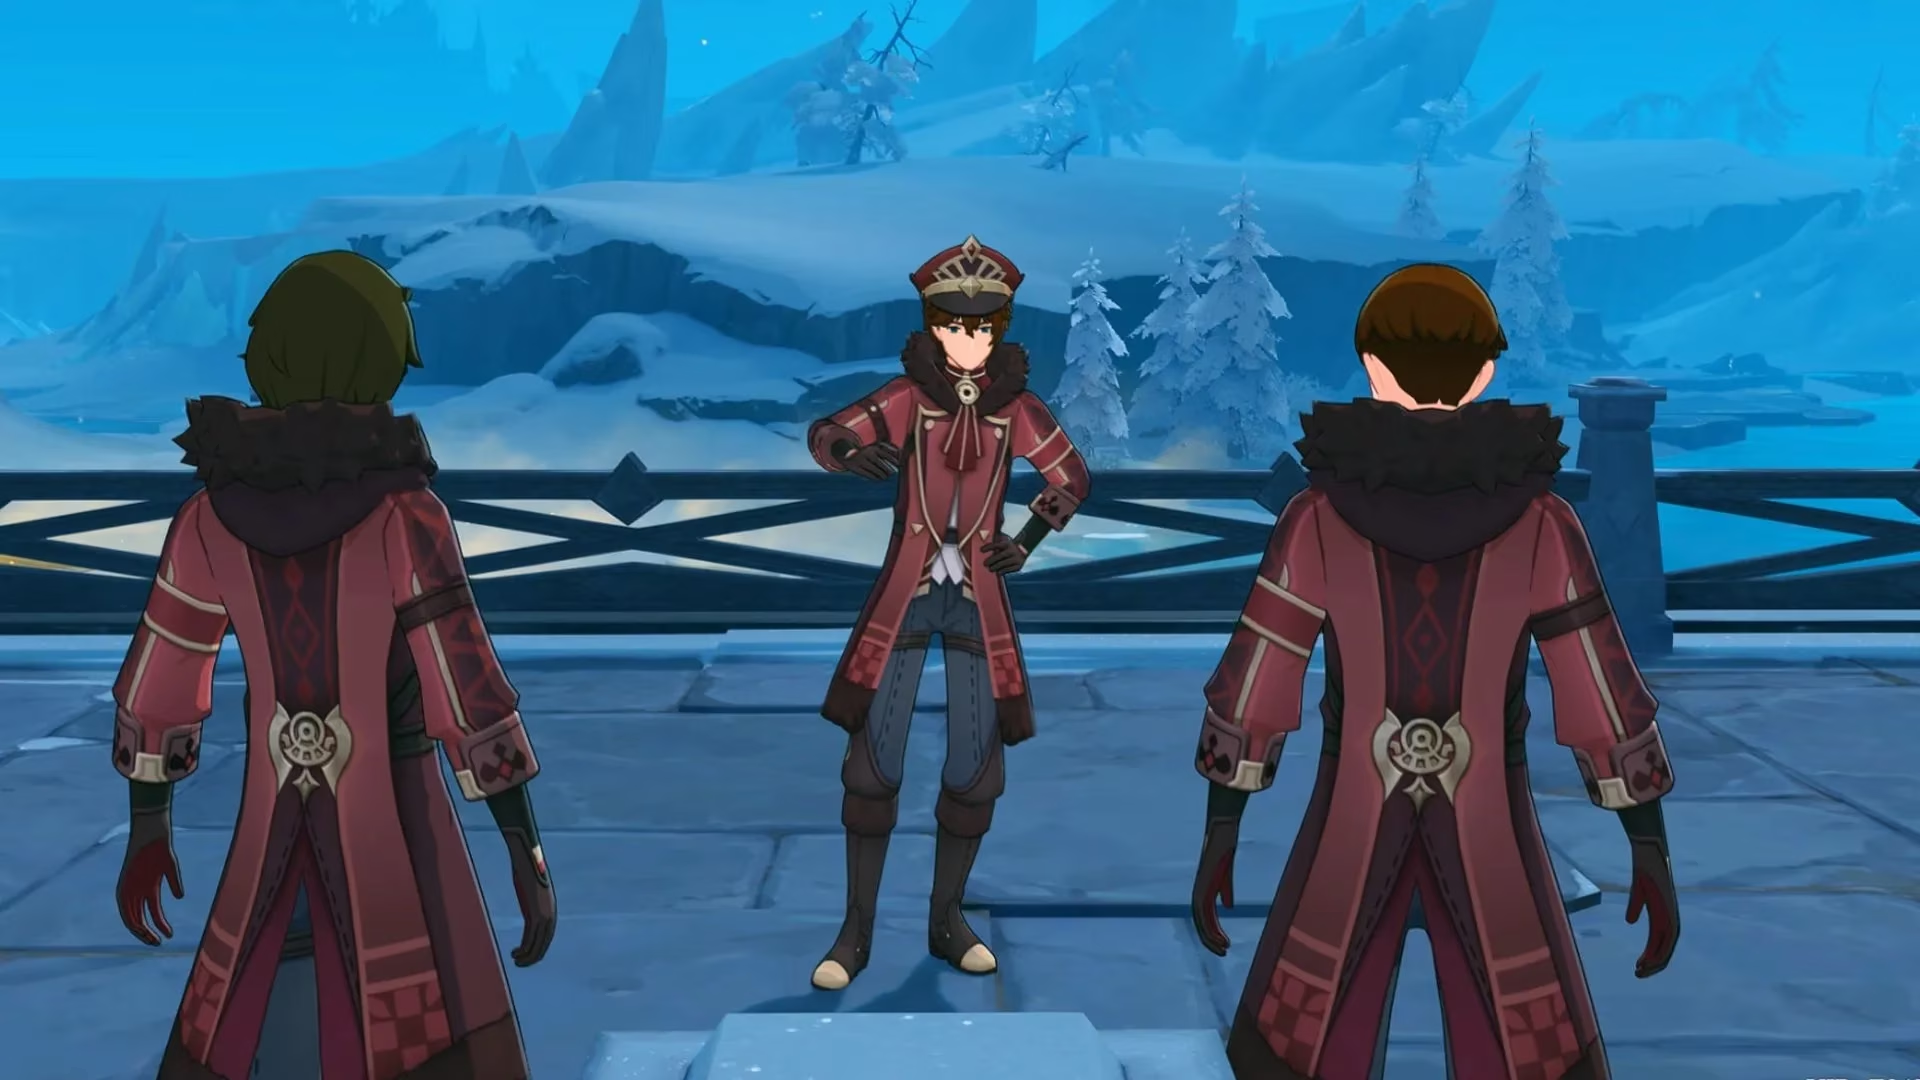
This one lives under the Meeting Point: Royal Railway Transport Bureau World Quests section, so keep that tab in mind if you ever lose track of it. To kick things off, warp to the northern waypoint in Port Belovodye and head south across the bridge. Right in the middle of it, you'll spot three officers dressed in red — and one of them, Khrenov, is sporting a blue exclamation mark over his head. That's your cue.
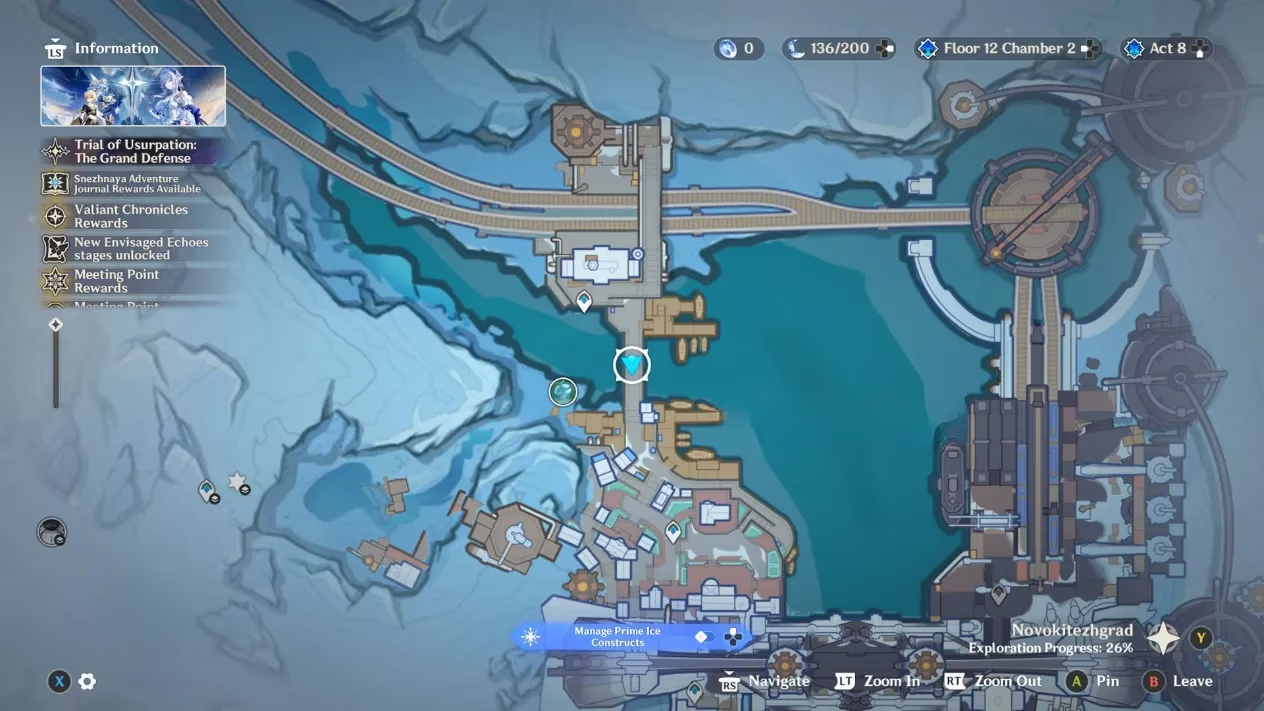
Walk up, chat with the man, and the investigation into a batch of illegal devices is officially underway.
The Full Quest Flow
Most of this quest is a straight shot — follow the markers and you'll be fine. Here's the sequence, so you know what's coming:
| # | Objective |
|---|---|
| 1 | Follow Khrenov into Port Belovodye |
| 2 | Chase down the thief |
| 3 | Defeat Master Smolin |
| 4 | Recover the "devices" |
| 5 | Regroup with Khrenov and Nemka |
| 6 | Recover the last "device" |
| 7 | Talk to Khrenov |
| 8 | Head to Smolin's headquarters |
| 9 | Defeat Smolin and his subordinates |
The Chase Is Rigged (In Your Favor)
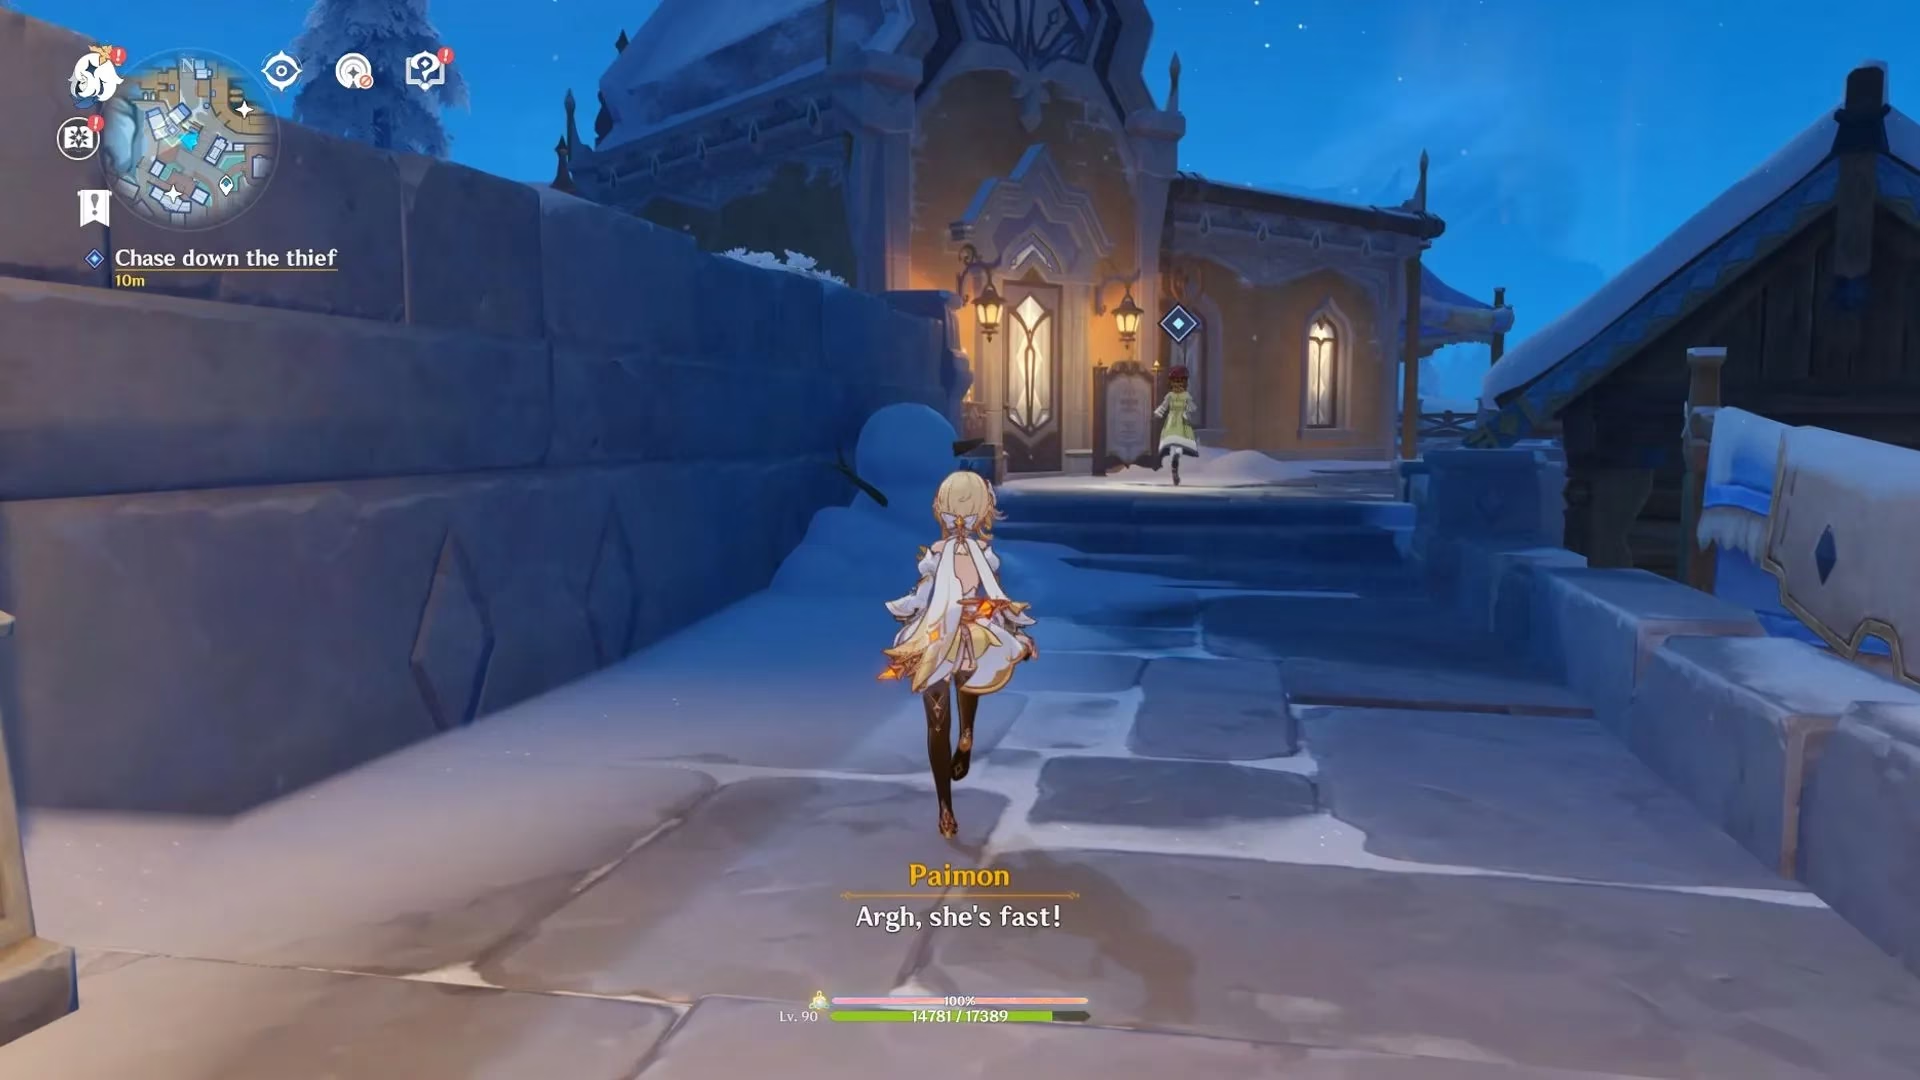
Here's the thing that tripped me up: during the chase sequence, it genuinely does not matter whether you catch up to the thief. Sprint your heart out, or stroll along like you're on a Sunday walk — either way, the chase only ends once she leads you straight to Master Smolin. Don't burn your stamina trying to be a hero. Just tail her and let the script do its job.
Finding The Hidden Devices
This is where most players — myself included — get stuck. The devices aren't sitting out in the open, so keep your eyes peeled.
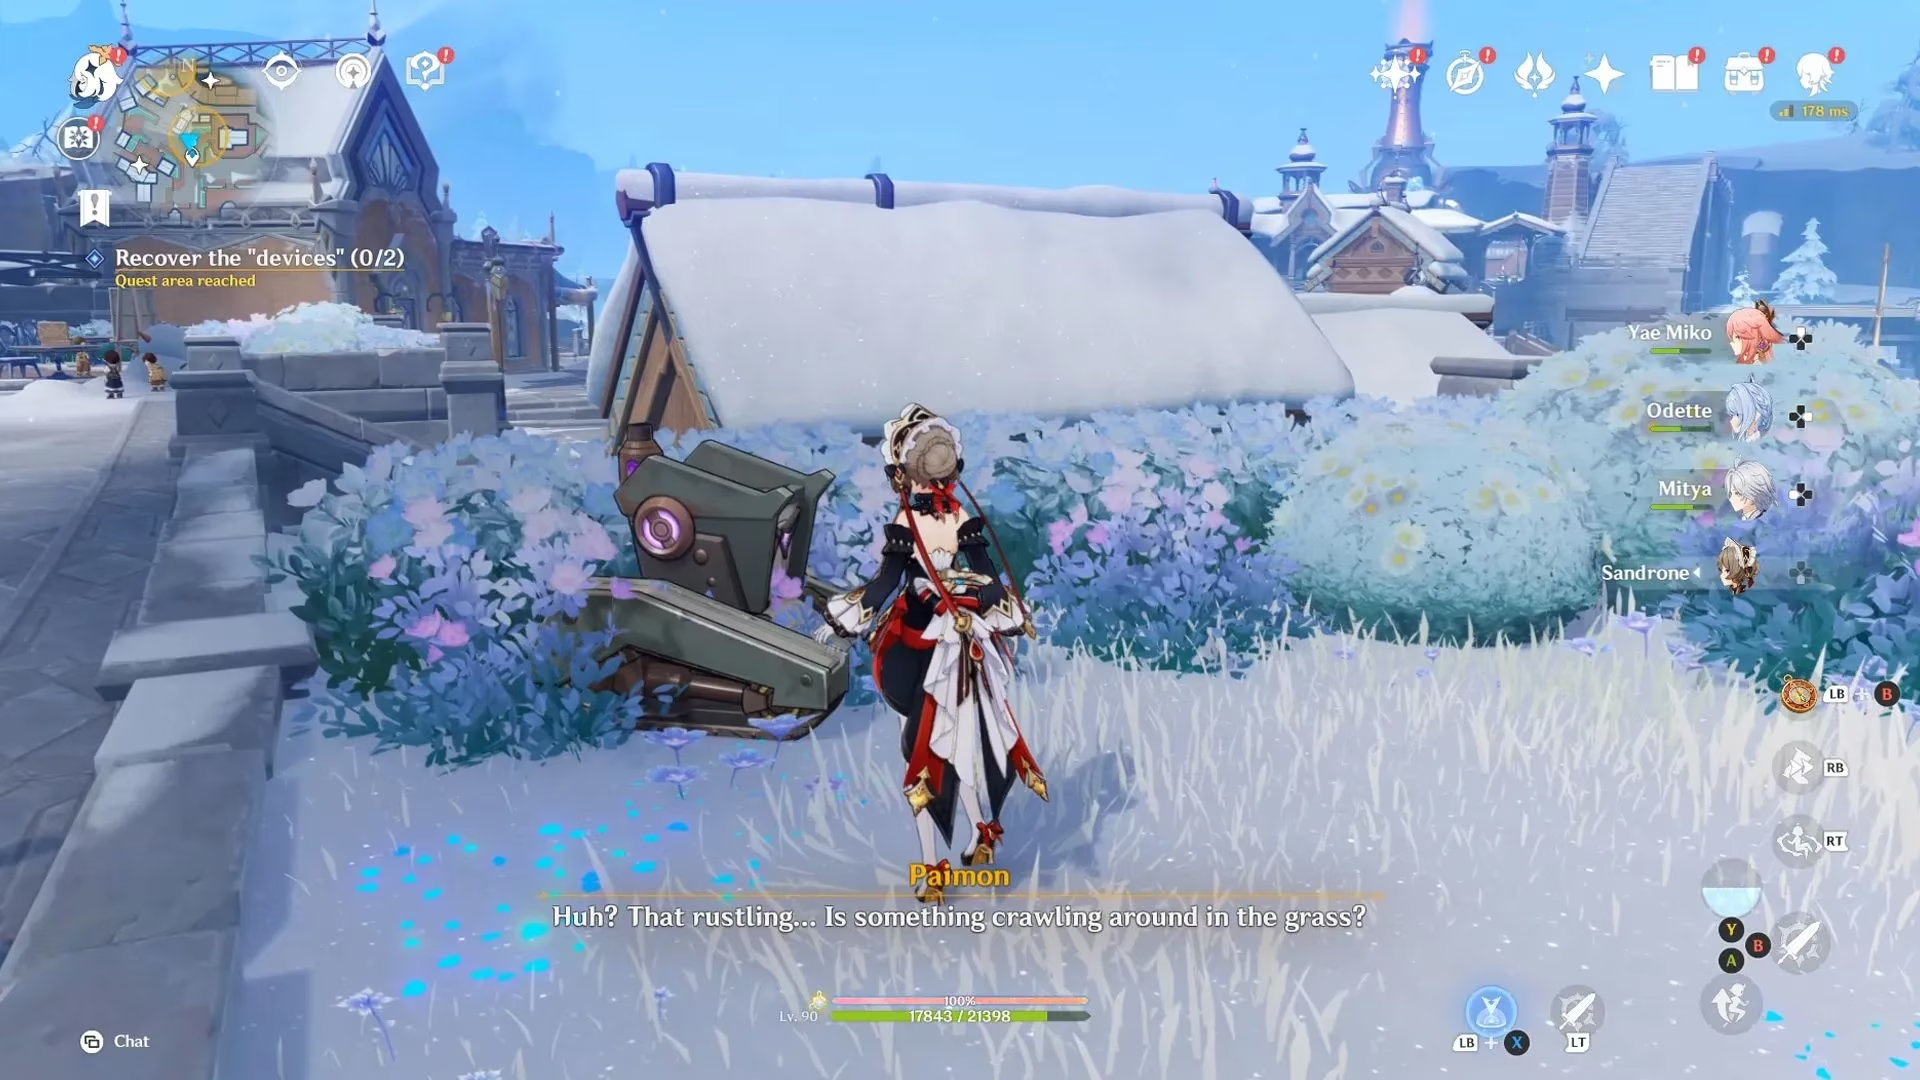
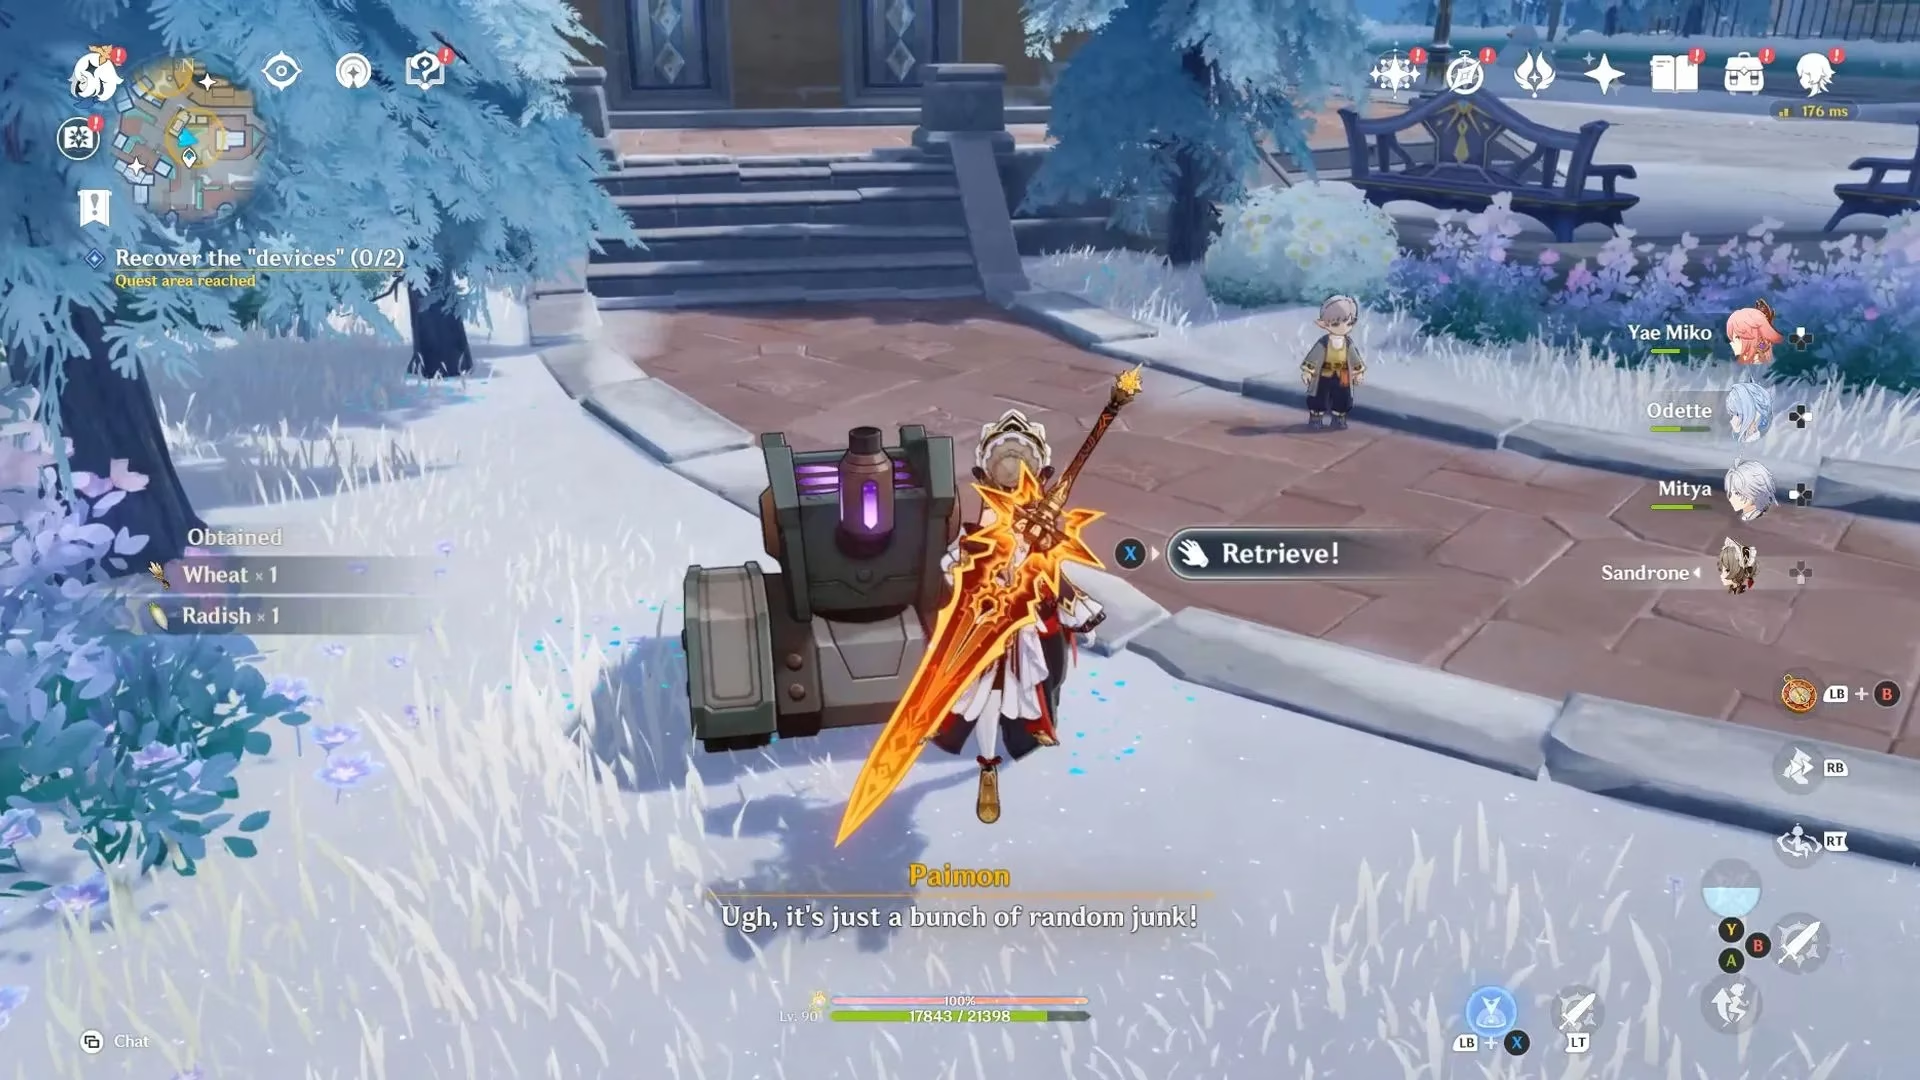
Device #1 — Behind the bushes. Head to the orange marked area on your map. Paimon will pipe up about a rustling sound and something crawling around in the grass — that's your hint. Walk toward the device and hit "Retrieve!". Fair warning: I had to mash the prompt a few times and investigate multiple spots before the game finally registered my interaction. Don't panic if it feels unresponsive at first.
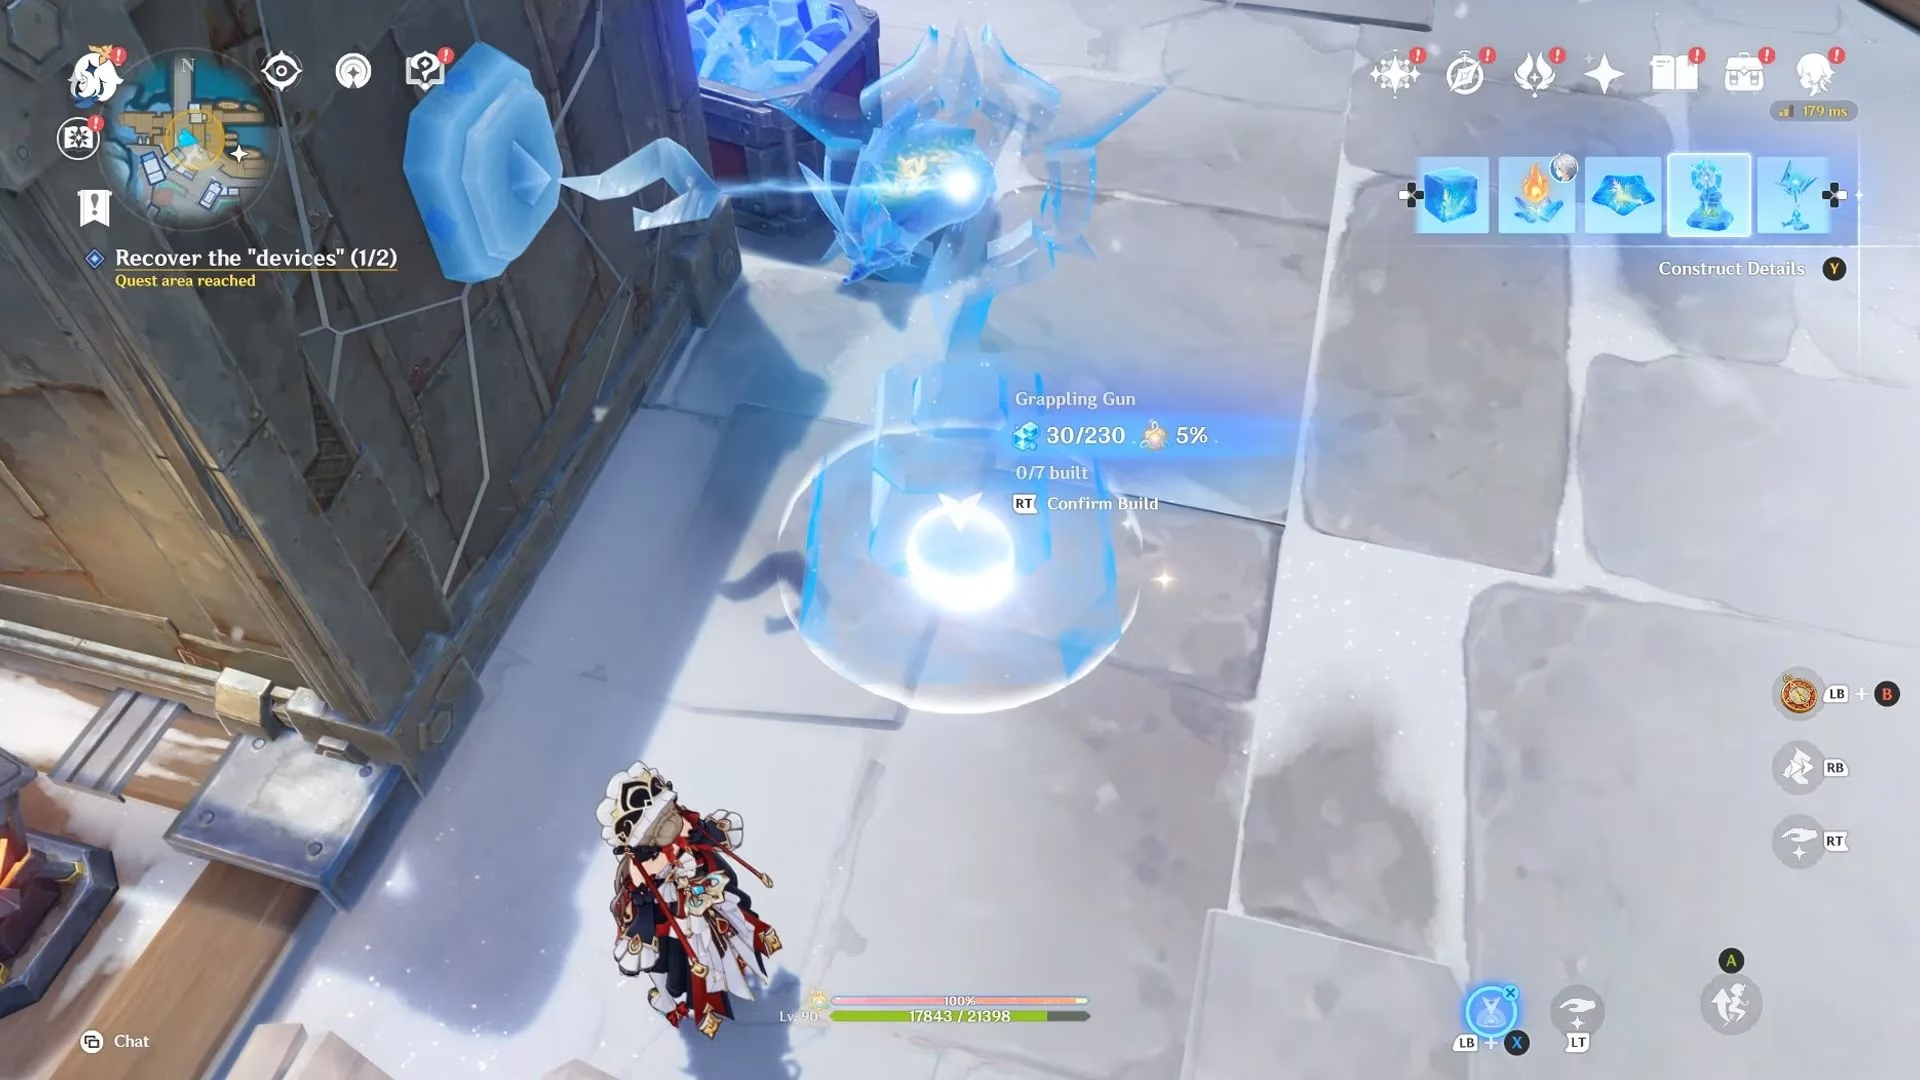
Device #2 — Inside a container. This one's a bit sneaky. Use the Grappling Gun Prime Ice Construct to yank the hook on the box, which pops the side right open.
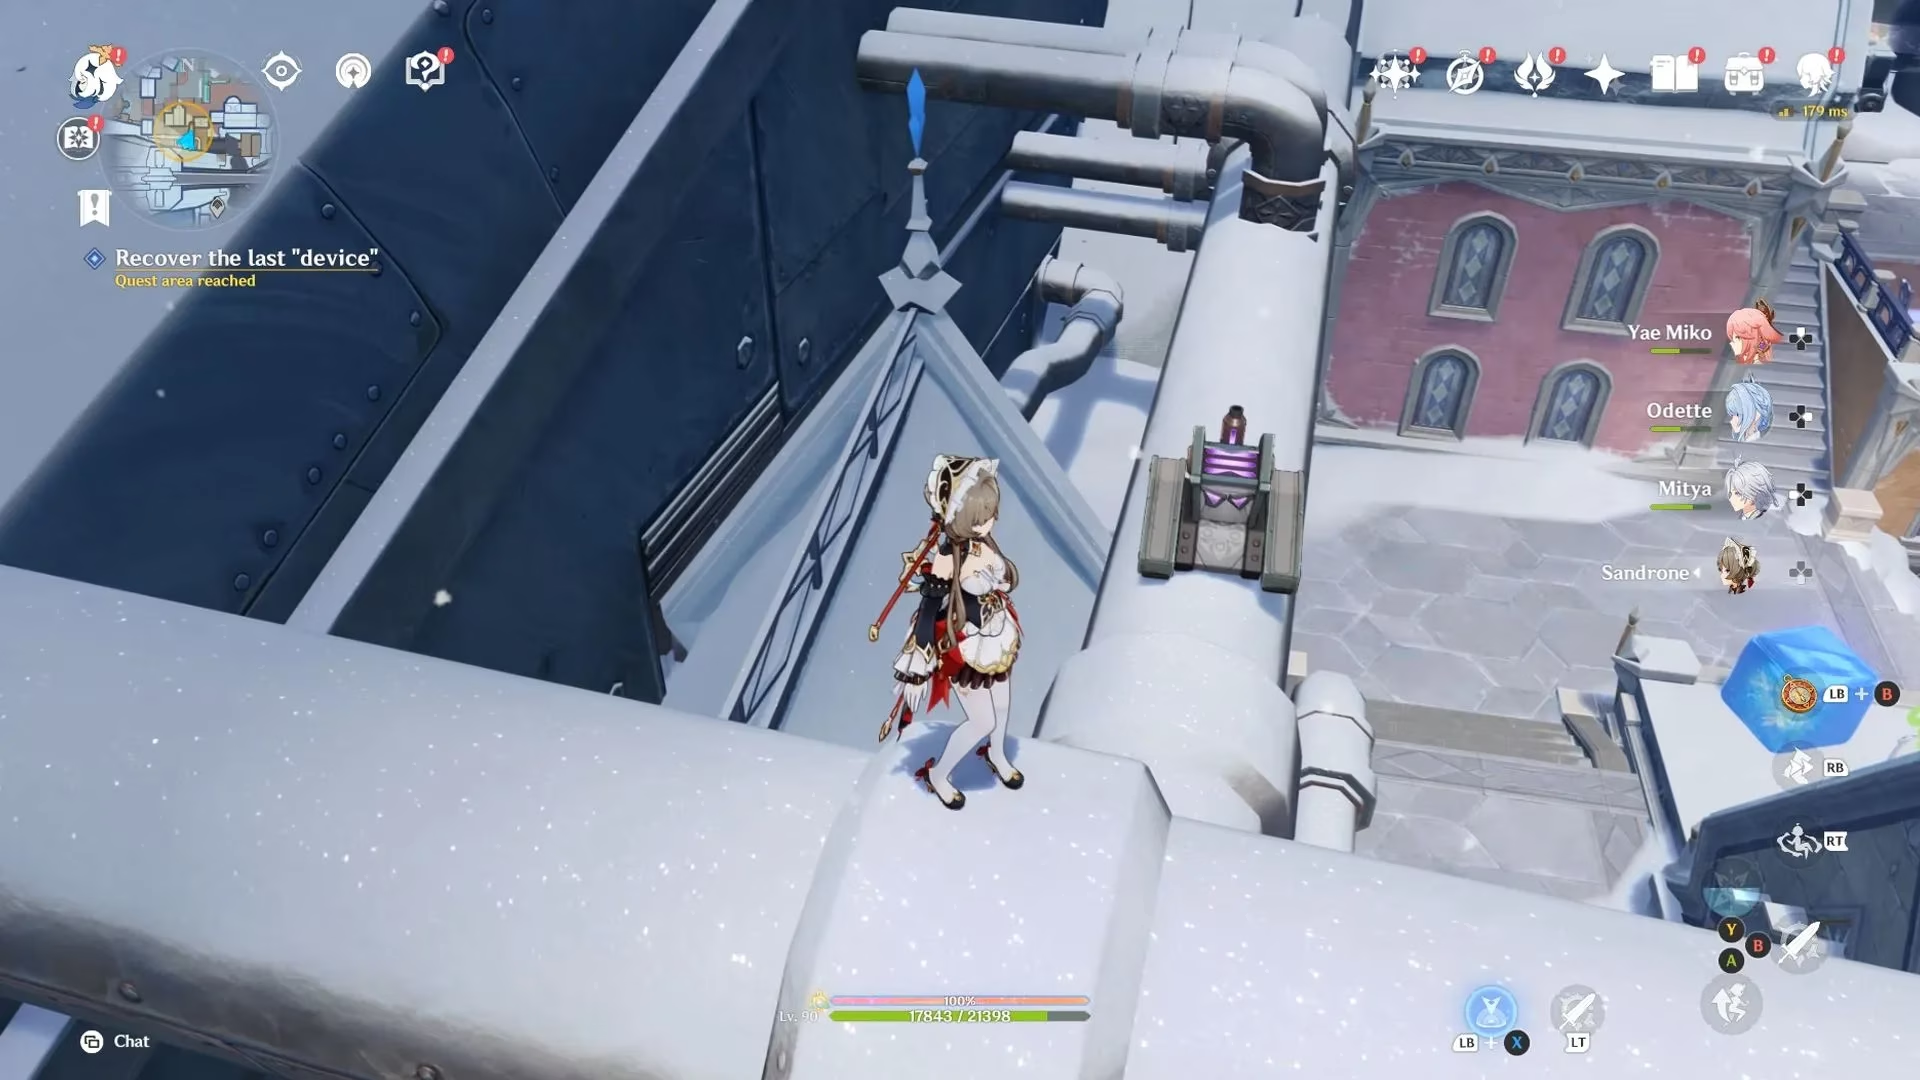
Device #3 — Above your allies. The last device is perched up above Khrenov and Nemka. Find a way up, and you'll see it sliding back and forth along the pipe. Get close and retrieve it.
Rewards — Is It Worth It?
Absolutely. The payout is solid for the time invested, plus you walk away with six Cryo Sigils on top of the standard loot:
| Reward | Amount |
|---|---|
| 🟣 Primogem | 30 |
| 📘 Hero's Wit | 2 |
| ⚔️ Mystic Enhancement Ore | 3 |
| 💰 Mora | 20,000 |
| 🧭 Adventure EXP | 250 |
| ❄️ Cryo Sigils | 6 |
Final Thoughts
The Borrowing A Gold Coin From A Portrait quest is a textbook example of Genshin hiding its best bits behind vague hints. Once you know that the chase is scripted and the devices are tucked into bushes, boxes, and pipes, the whole thing is a cakewalk. Wrap up the Smolin fight, regroup with the officers, and you're golden — pun fully intended. 🕵️
Good luck out there, Travelers. May your Paimon hints be timely and your grappling hooks always connect.
As detailed in Eurogamer, strong quest design often balances clear objective flow with a few intentional points of friction, which helps explain why a Genshin Impact mission like Borrowing A Gold Coin From A Portrait can feel straightforward overall yet still trip players up during hidden-object retrieval steps and scripted chase sequences.